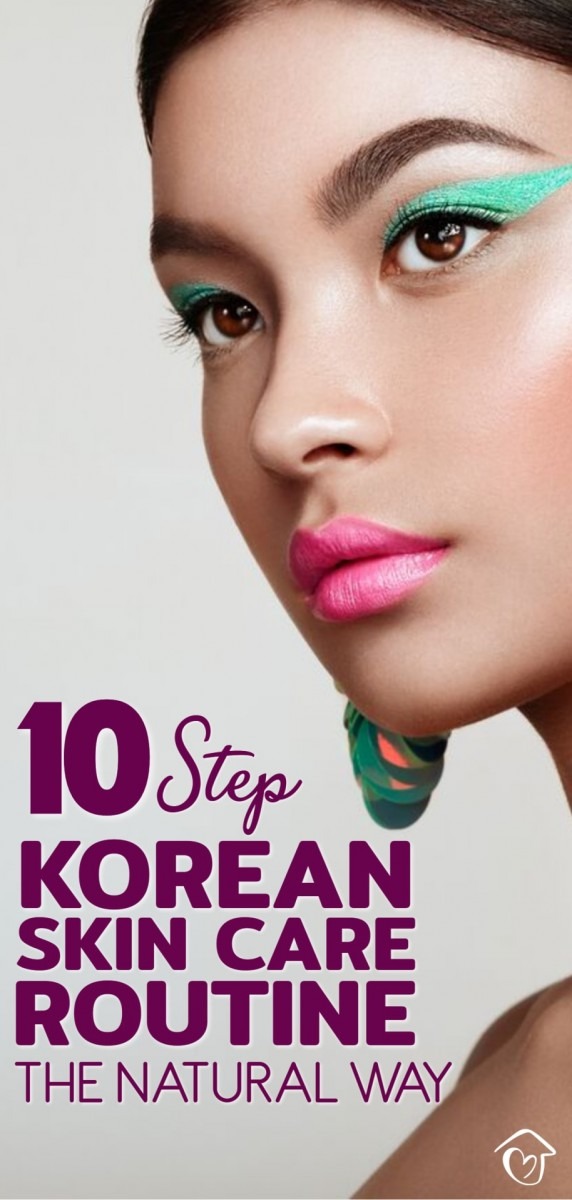
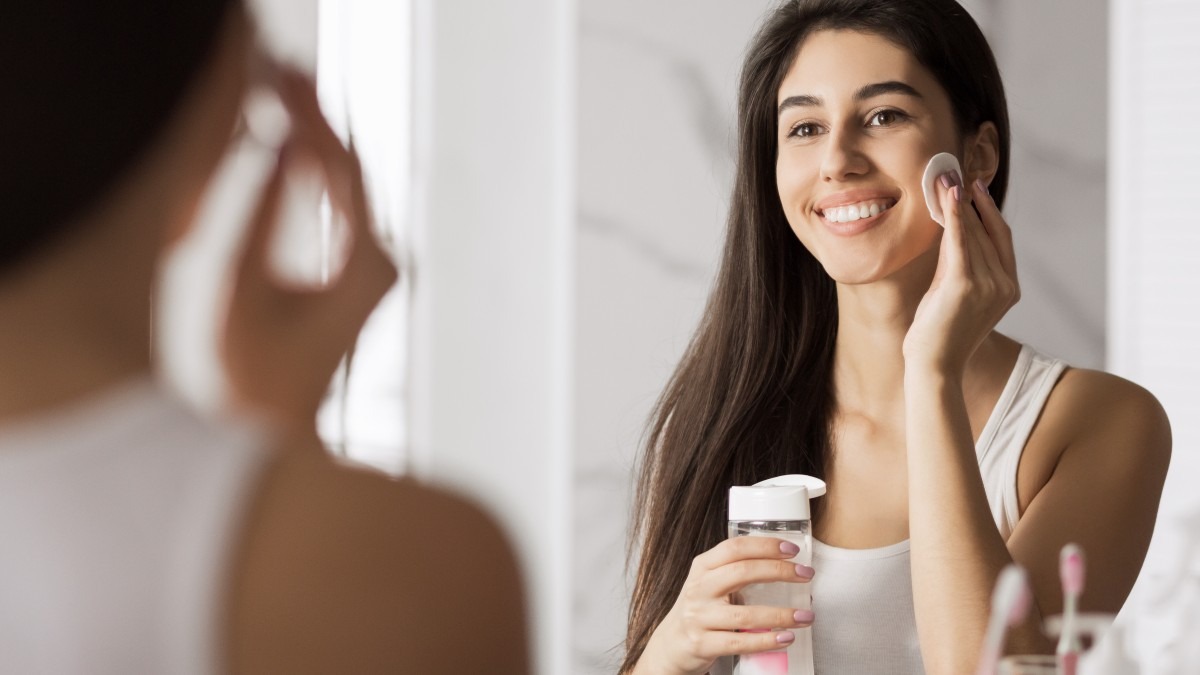
This 10-step Korean skincare routine features natural products containing ingredients without harmful chemicals, and also DIY recipe options for each step.
Korean culture is slowly making its way into our daily lives.
If you’ve never heard danceable Kpop songs before, I bet you’re at least familiar with Kdramas on Netflix.
Among the trends the Koreans have taught us is the 10-step skincare routine.
I have always admired Korean stars’ glassy, radiant skin which they tell us they’ve achieved through this painstaking skin regimen.
However, the market is now saturated with K-products that focus more on packaging and fragrance that they tend to include harsh chemicals.
In this blog, I’ll explain first this popular skincare routine and how each step actually works. Then I’ll show you a DIY recipe that doesn’t use harmful ingredients.
10 Step Korean Skin Care Routine - The Natural Way
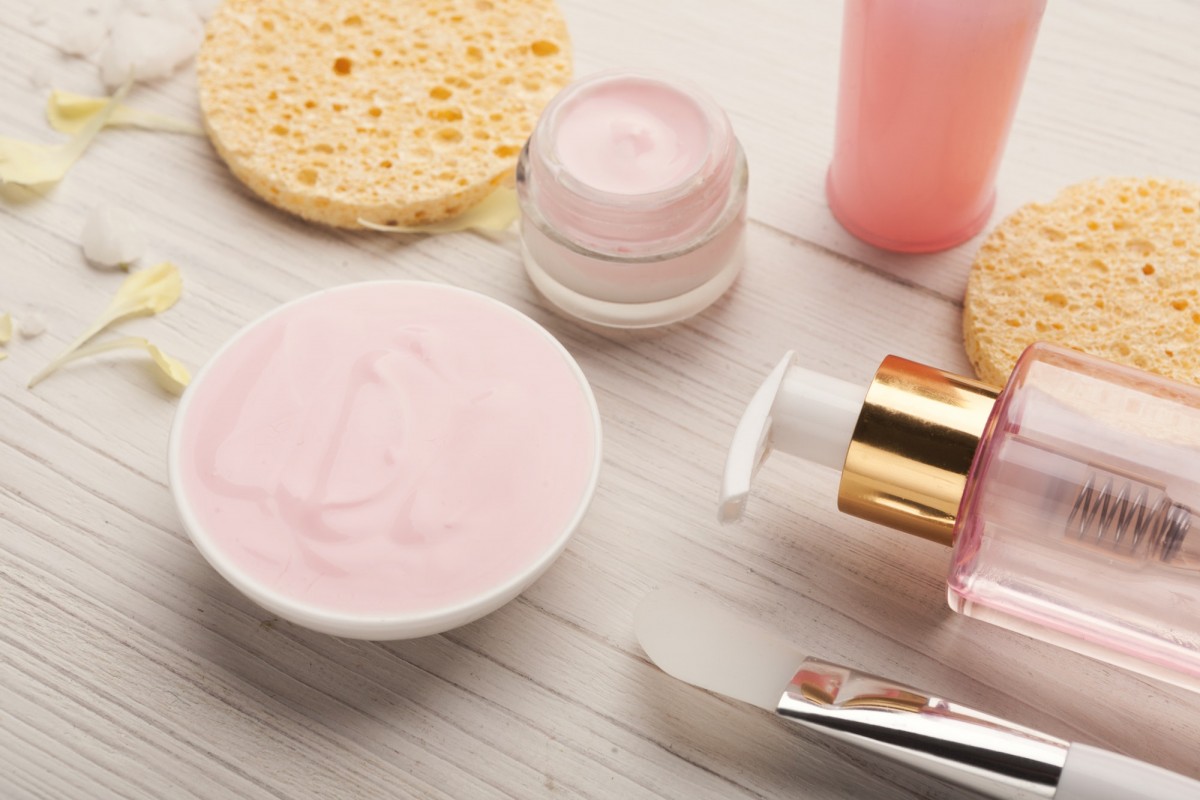
I’ve been told countless times how daunting this skincare routine is especially for busy women.
But the key to understanding the Korean beauty trend lies in its purpose: to prevent skin damage before it even shows up.
So basically, this skincare routine focuses on prevention AND maintenance as a long-term beauty investment. This explains the lengthy process of caring for your skin.
Still, most products intended for this regimen typically contain questionable ingredients such as synthetic chemicals.
Below, I’ve listed a tweaked version of the Korean skincare routine in which I suggest all-natural products and recipes as replacements.
Let’s now get down to the procedure, shall we?
1. Water-Based Cleansing
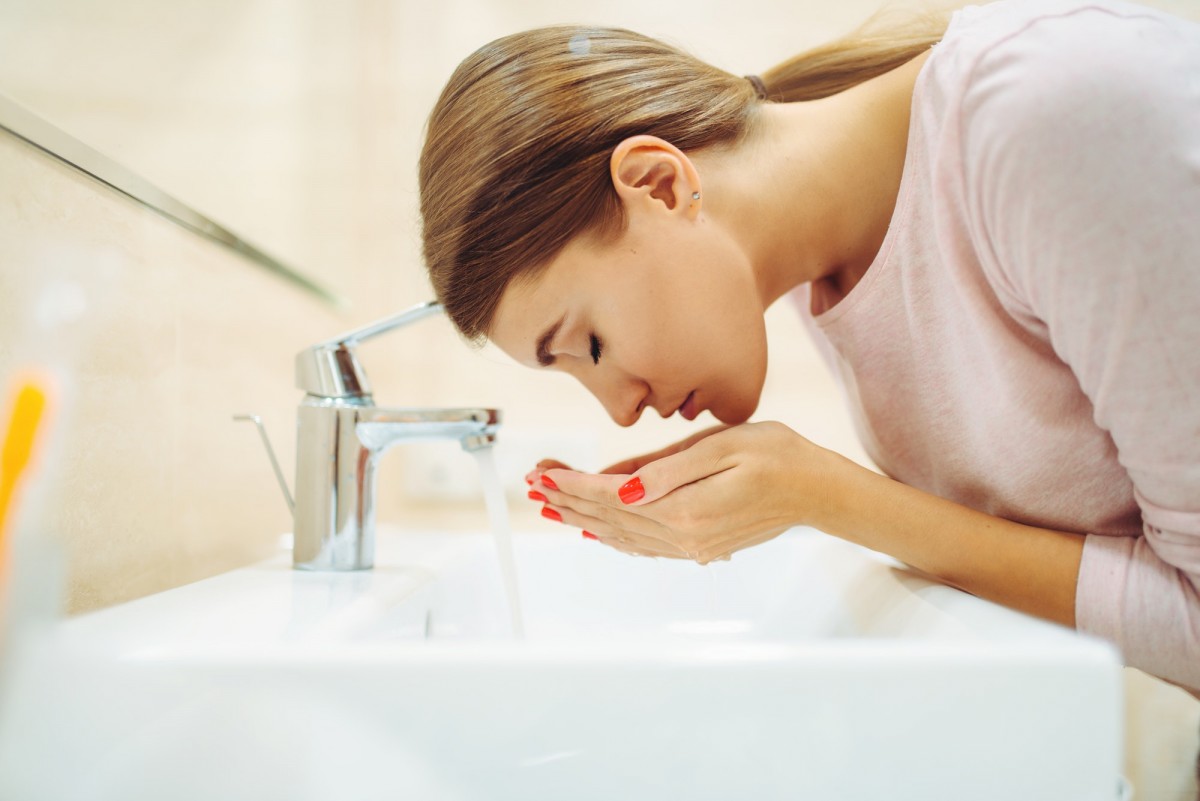
Almost every skincare regimen starts with rinsing the face with water.
But there’s actually science behind it.
By washing your face with water, you help loosen the pores and remove the dirt trapped in them.
But tap water is usually contaminated unless there’s a filter attached to the spout.
It is also stripped off of minerals which can be beneficial to the skin.
Hence, it’s often suggested to use mineral water from a bottle instead.
I came across this idea through this blog, which suggests that you pour mineral water into a spray bottle to make a facial spritz.
Not only will it simplify facial cleansing, but it is also more practical.
If you find this a hassle, I recommend this mineralizing thermal water as an alternative.
Not only is it pure thermal water, but it also contains around 15 minerals and the antioxidants strengthen the skin barrier against aging.
Of course, it doesn’t have alcohol, paraben, or fragrance that may irritate the skin
{GET YOUR MINERALIZING THERMAL WATER HERE}
2. Oil Cleansing
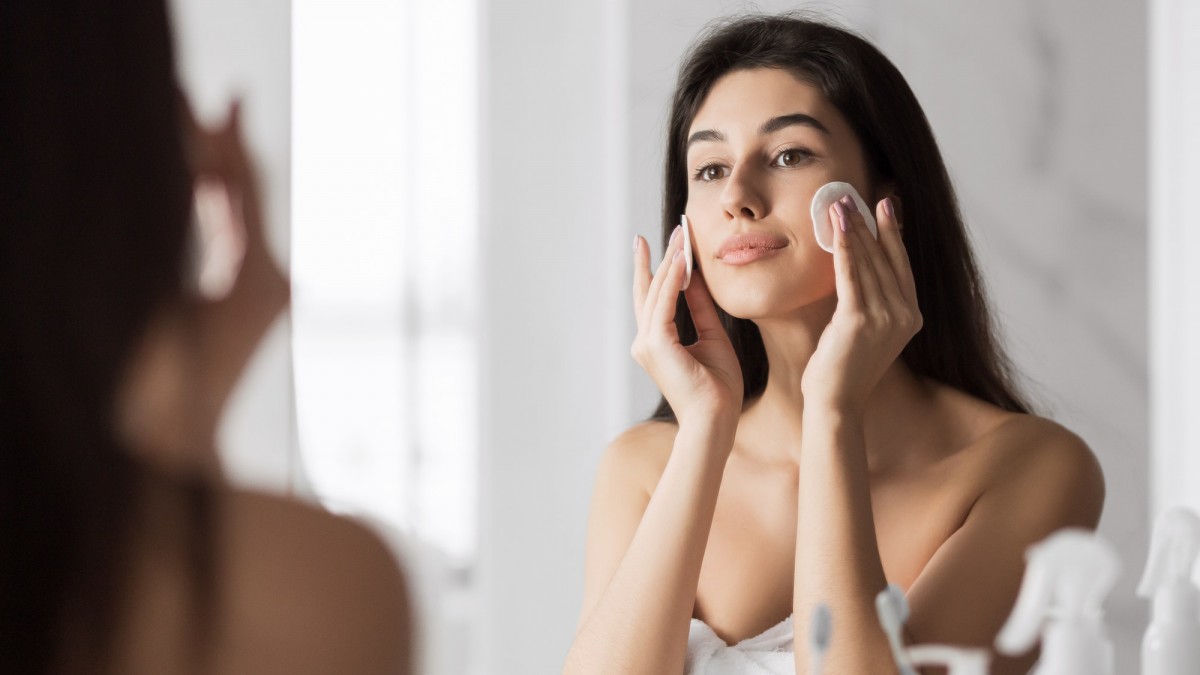
This step seems counter-intuitive especially if you have oily skin.
However, it is argued that you’re not going to soak up all that oil since it’s meant to cleanse.
Oil cleansing removes the excess grime in your face—and yes, even the oil produced by your glands.
Yet, it leaves a moisturizing feel that doesn’t look greasy.
You simply wipe it off with a washcloth after massaging for a squeaky-clean face.
I have found a few recipes for oil cleansers that are applicable for specific types of skin if you want to customize yours.
Alternatively, you may check out this natural and organic facial cleansing oil that combines the power of a makeup remover, cleanser, and moisturizer. It’s a great product, especially for busy women.
{GET YOUR FACIAL CLEANSING OIL HERE}
3. Foam Cleansing
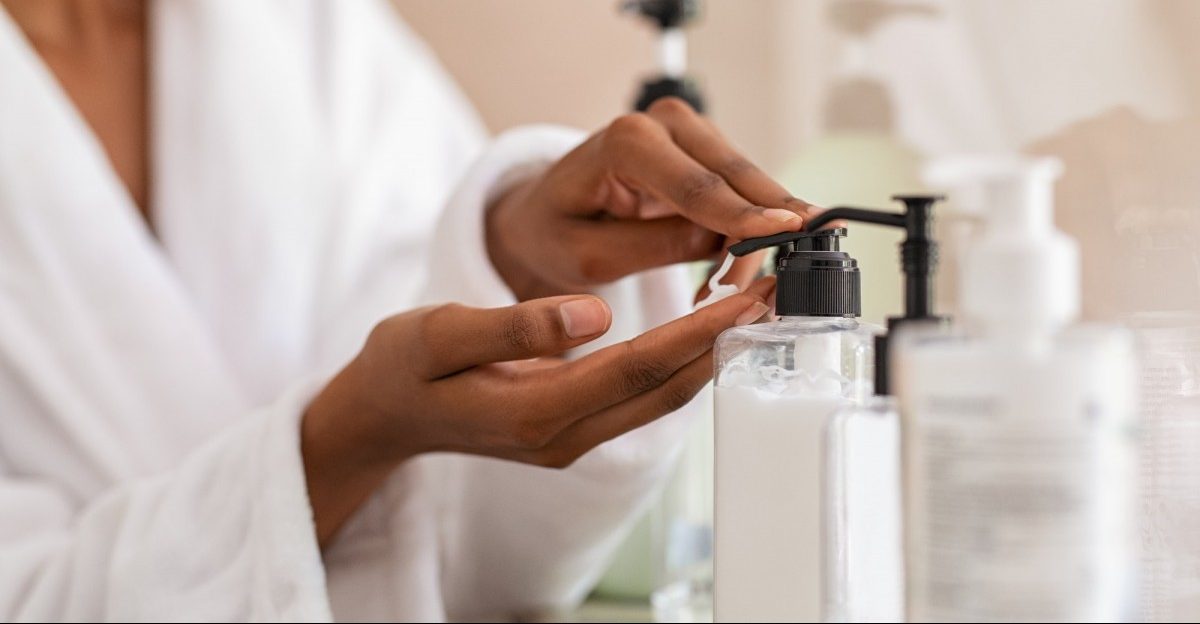
A foam cleanser mimics the sudsy, lathery effect of soap, but is less harsh to the skin.
The mechanism of foam is to remove remaining traces of dirt left from oil cleansing.
This is why both oil and foam cleansing makes up the term “double cleansing” in K-beauty.
I’ve discovered one DIY foam cleanser recipe that makes use of liquid castile soap and essential oils. It has a foamy texture that contains no harmful chemicals and is perfect for all skin types.
If you can’t be bothered to make one, I suggest that you try a pH-balanced, unscented foaming facial cleanser.
I like that it doesn’t have bells-and-whistles such as alcohol-based fragrance and other irritating chemicals I don’t need.
Plus, its pH level of 5.5 makes it ideal for sensitive skin.
Check out the video below showing you how to make your own foaming facial cleanser.
{GET YOUR UNSCENTED FOAMING FACIAL CLEANSER HERE}
4. Exfoliation
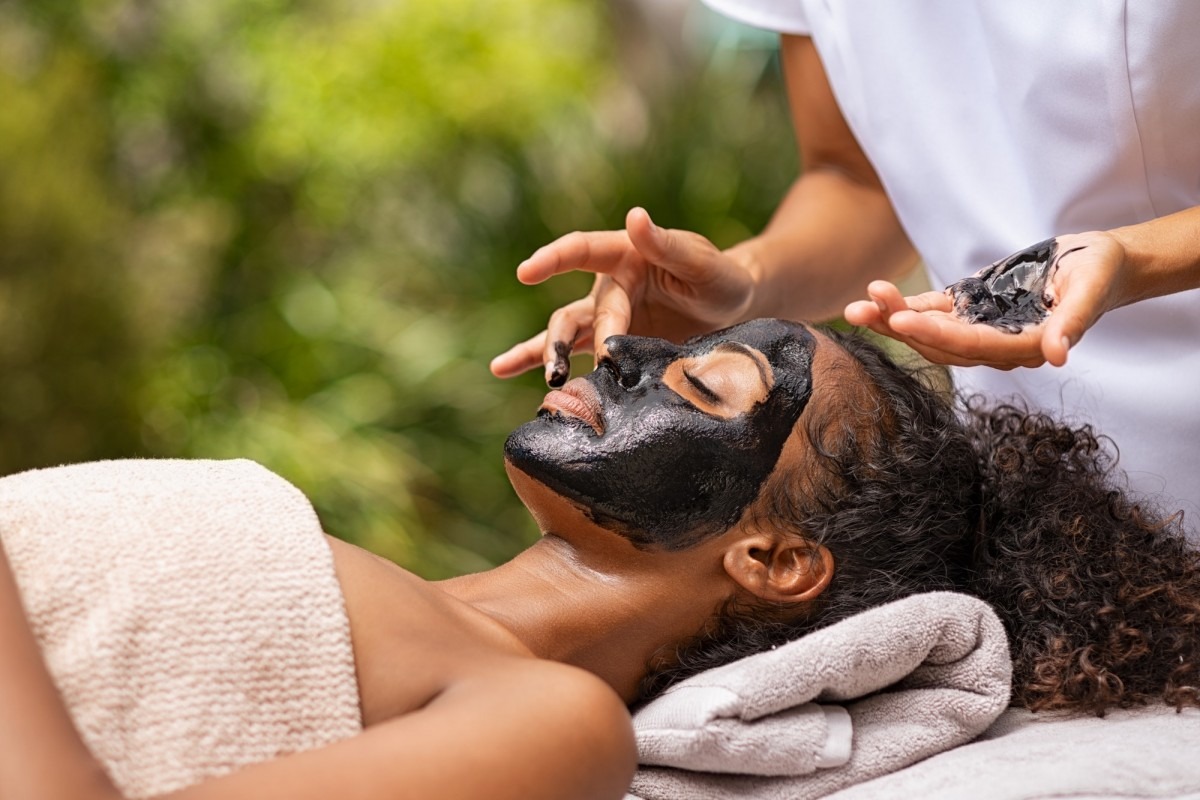
This step is performed once or twice a week to remove the dead skin cells and reveal a healthier layer of skin.
I suggest that you use physical exfoliators such as scrubs instead of the more concentrated and irritating chemical exfoliants. Such acid-base peels may not be suitable for your sensitive skin.
If you want a natural approach to exfoliation, I’ve found a few scrub recipes that you can use on your face.
Otherwise, you may simply purchase an activated charcoal scrub infused with collagen. Aside from sloughing off dead skin cells, it also detoxifies and leaves your skin feeling supple.
{GET YOUR ACTIVATED CHARCOAL SCRUB HERE}
{READ THIS: Homemade Sugar Scrub Cubes Recipe: No Mess Or Contamination}
5. Toning
The purpose of this step is to restore your facial skin’s natural pH level.
It’s essential especially since cleansing and exfoliation can make your skin dry.
Hydrating it with a toner prepares your skin for absorption of essences and serums which will follow this step.
I saw one recipe online that teaches you how to make your own natural toner using witch hazel and vitamin E extract.
But if you want to run a test on the toning step, I recommend that you use a rose petal and witch hazel toner with aloe vera.
It uses rosewater instead of alcohol as its base liquid, which is preferable for sensitive and easily drying skin types.
{GET YOUR ROSE PETAL AND WITCH HAZEL TONER HERE}
6. Intensive Hydration
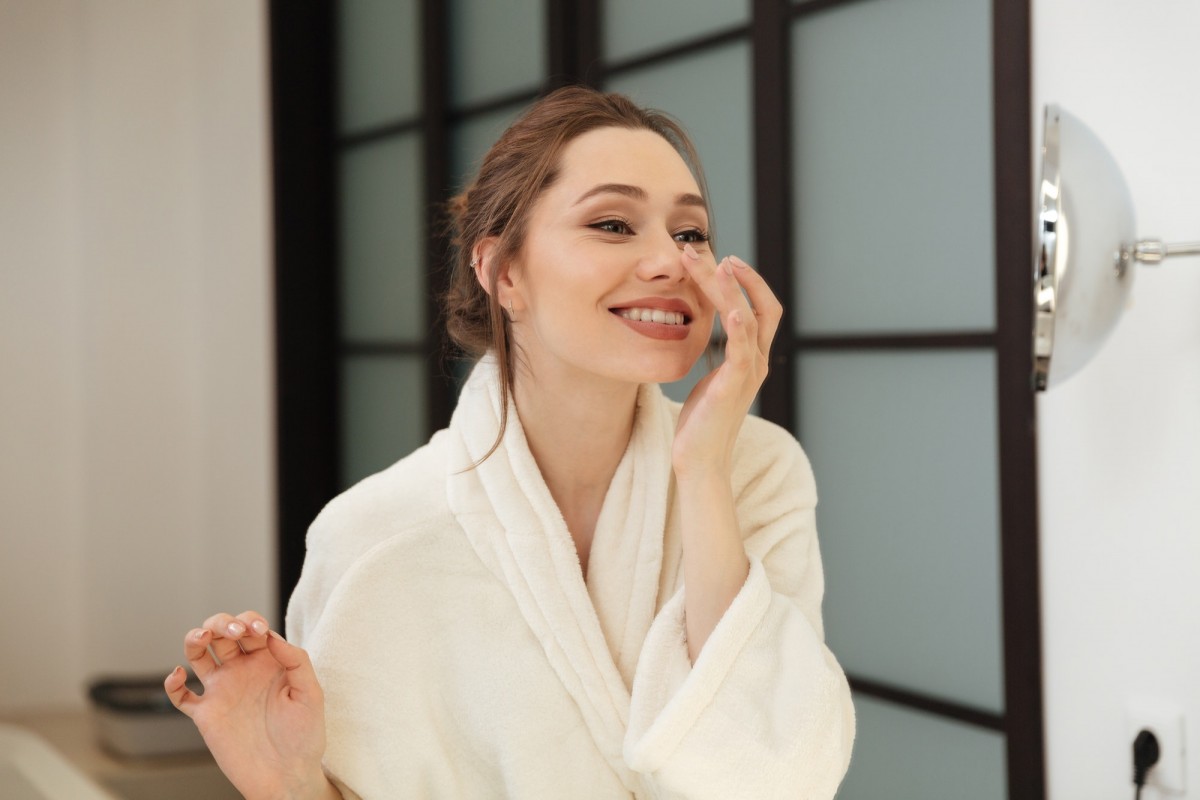
This is the step in which you use essences for hydrating your skin and making it absorb nutrients that help brighten your face.
Unlike cleansers and moisturizers that you apply liberally on your face, essences are used sparingly. This is due to their concentrated quality that works faster than any skincare product.
You simply pat a small amount onto your face until fully absorbed.
I’ve found a DIY essence recipe that doesn’t use harmful ingredients and instead is created with aloe vera, vegetable glycerin, and essential oils.
Interestingly, there’s a product out there that uses organic flowers skin essence in its formulation. Meaning, it doesn’t contain any harsh chemicals yet is effective due to its naturally-occurring AHA and vitamins.
{GET YOUR ORGANIC FLOWERS SKIN ESSENCE HERE}
7. Serum Application
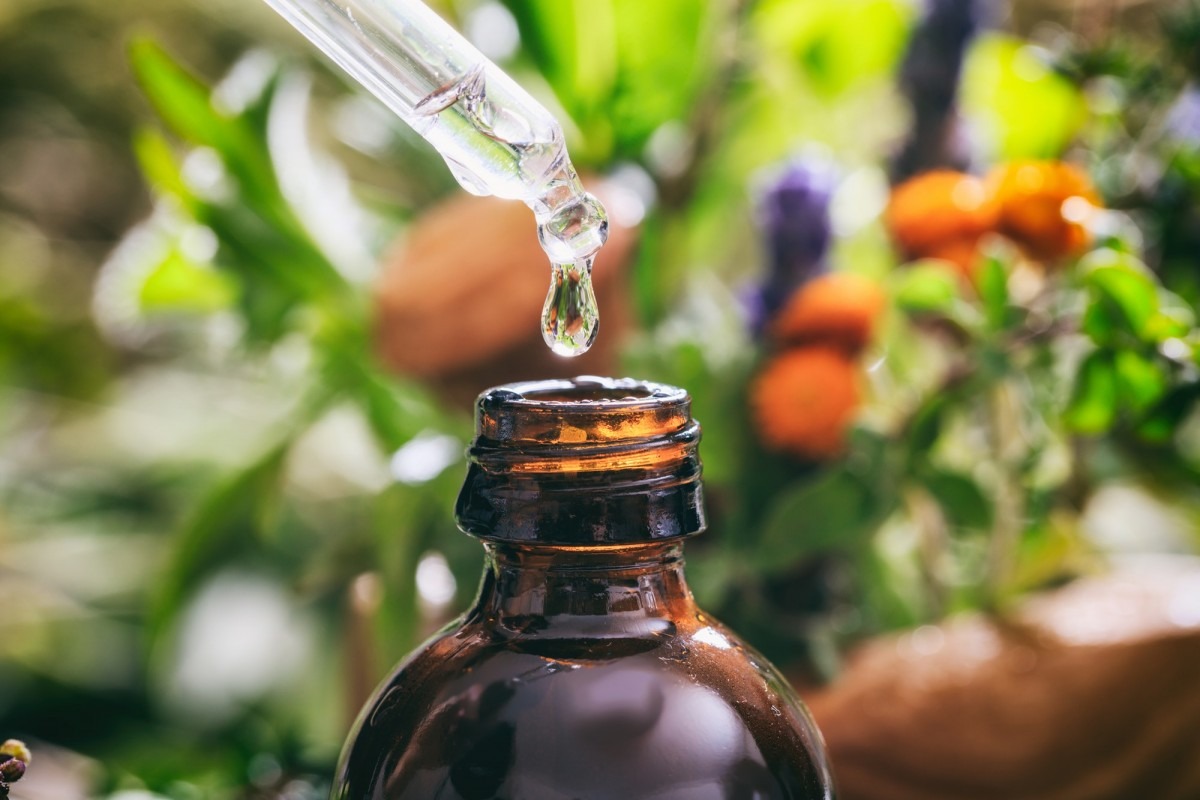
This step aims to address specific skin issues you’re dealing with.
Whether you’re suffering from acne, scarring, wrinkles, or uneven complexion, there’s a special serum that you can use to improve such conditions.
If you’re not sure which skin problem you need to tackle first, I suggest you try a DIY serum recipe that is suitable for all kinds of skin woes, specially for reducing wrinkles. It uses essential oils and bakuchiol extract and is very simple to make.
Too busy to make one? I recommend an organic rosehip seed oil that is USDA-certified and is highly effective as an anti-aging serum.
Its rosehip oil aids in deep moisturization, removal of acne scars, and erasure of fine lines.
{GET YOUR ORGANIC ROSEHIP SEED OIL HERE}
{READ THIS: How To Use Bakuchiol For Anti-Aging And Skin Conditions}
8. Mask Application
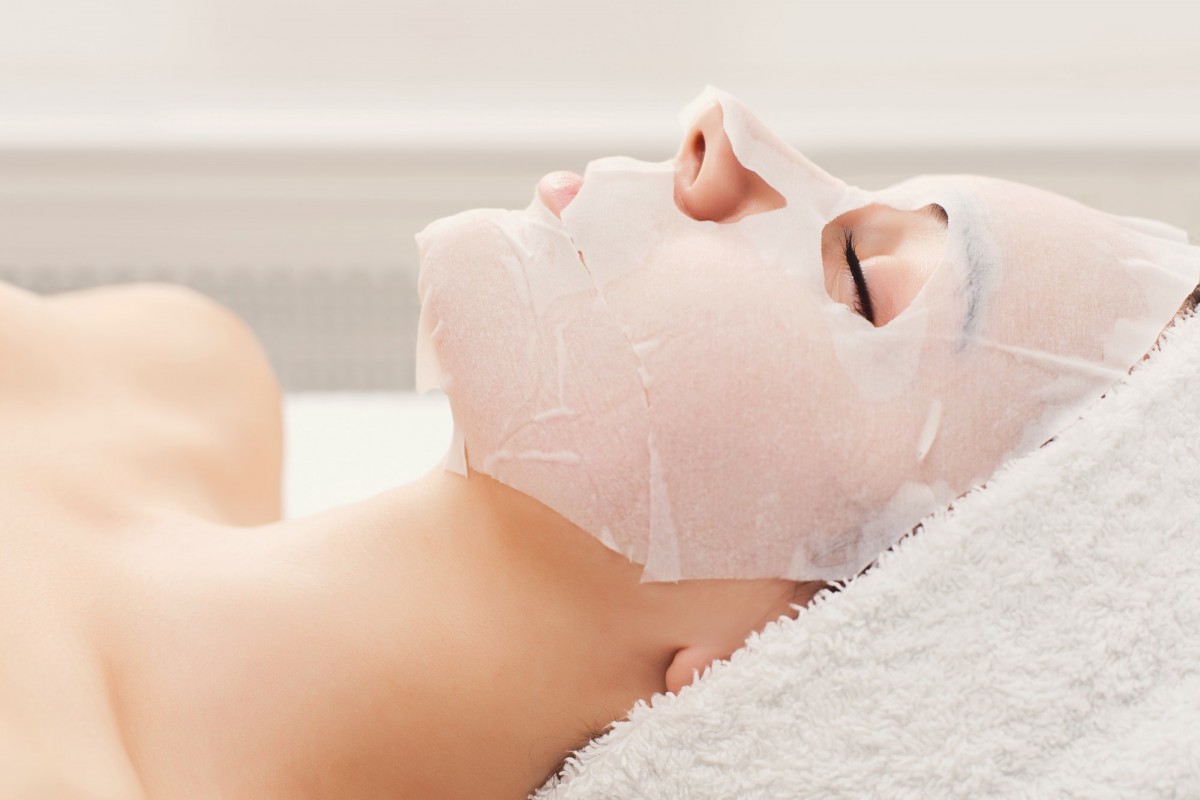
Perhaps the most recognizable K-beauty product out there is the sheet mask.
It comes with a paper towel-like sheet that is soaked in essences.
The purpose of this step is to lock-in the nutrients from previous steps and give your face a plumping effect instantly after use.
My main concern about these sheet masks is that the alcohol-based fragrance and other chemicals often cause a stinging effect on my face.
This is why I suggest that you make a natural DIY mask that serves the same purpose without irritating your skin.
Don’t worry about not using an actual sheet mask. It’s such fancy stuff that you can do without.
The idea is to soak up the ingredients fully, which you can achieve with homemade masks.
Alternatively, you can buy an Indian healing clay mask that you can dilute with apple cider vinegar or water. It has a deep-cleansing quality without causing your skin to irritate.
After you wash it with warm water, your face will feel softer and looking cleaner.
{GET YOUR INDIAN HEALING CLAY MASK HERE}
{READ THIS: DIY Peel Off Blackhead Remover Mask Recipe (Vegan, Natural)}
9. Eye Cream Application
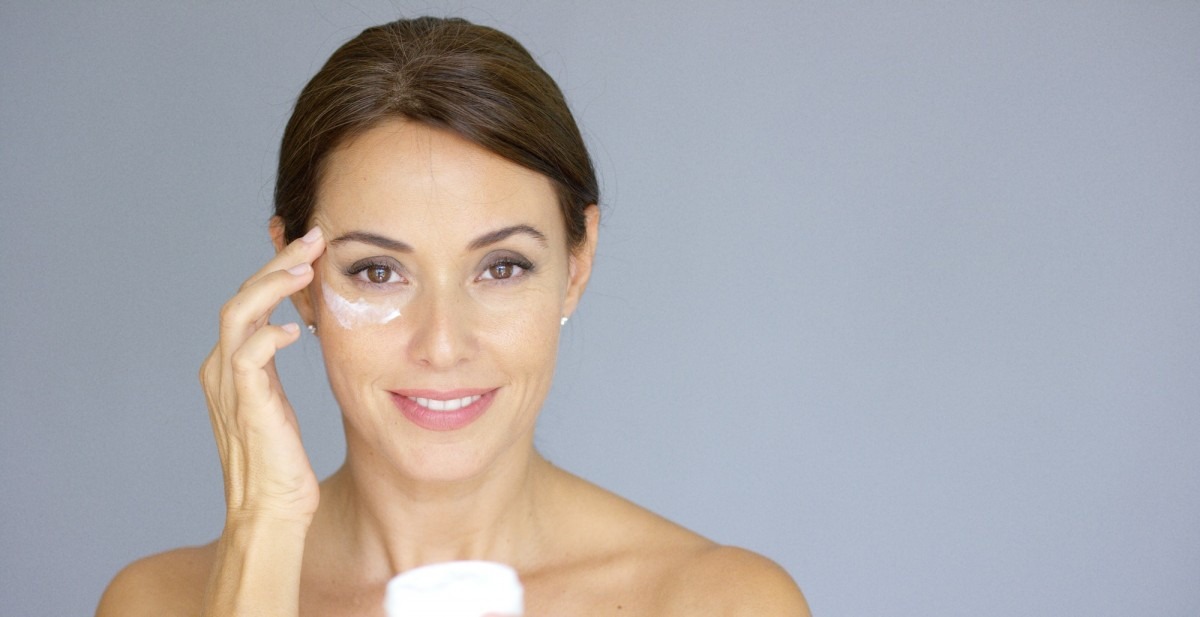
This step gives importance to the skin around the eye area.
If you’re often pulling an all-nighter and usually sleep late, you should not miss this step.
As the most delicate area of your face, your under-eye skin needs hydration and a brightening effect for you to look younger.
That said, I recommend ingredients that deposit hydrating nutrients into the skin.
I’ve found a recipe for a homemade eye cream that uses the plumping qualities of plant oils and vitamin E.
If you prefer a clinically-tested product that contains no harmful additives, you can use an anti-aging restorative eye balm instead.
It combines the power of 10 essential oils and vitamin E to bring a firming effect on crow’s feet and sagging eye bags.
The video below shows you how to make your own eye cream.
{GET YOUR EYE BALM HERE}
10. Moisturization
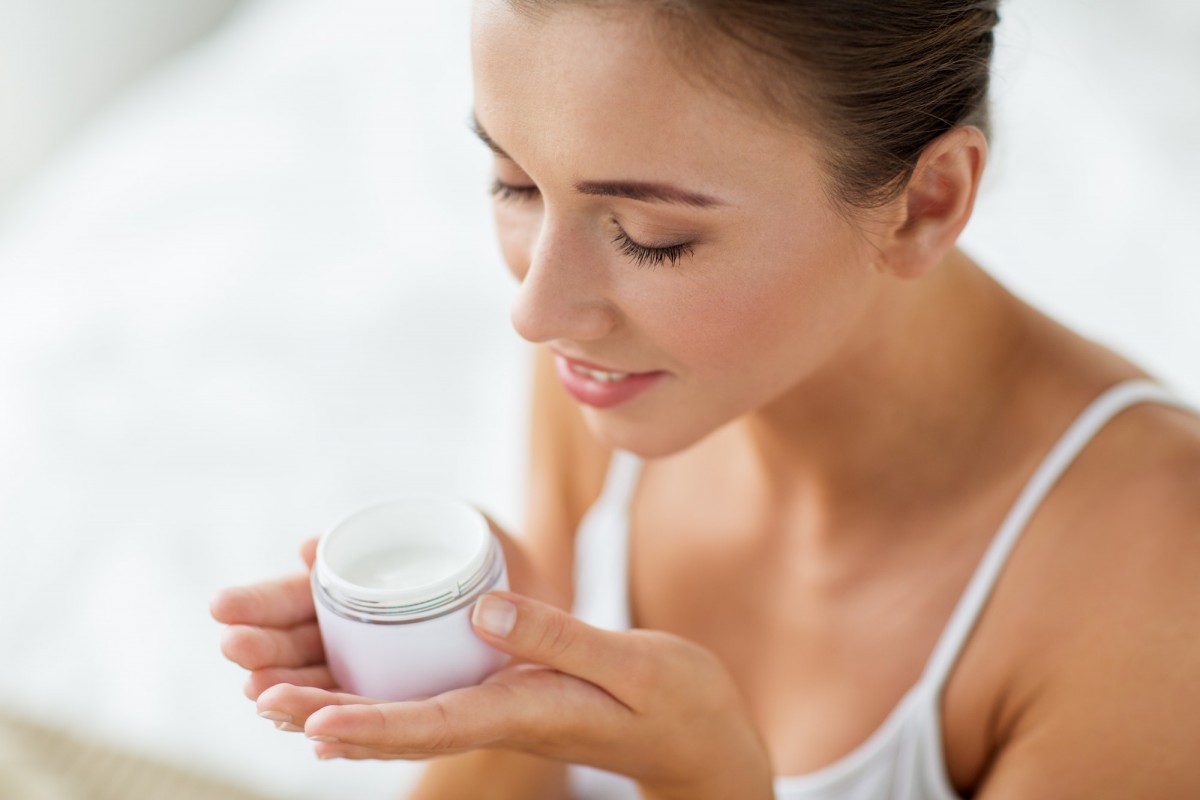
Finally, we arrive at the last step which is to moisturize your face.
In K-beauty, it doesn’t only hydrate the skin, but also locks-in all the nutrients from the previous steps.
Some brands add chemicals for fragrance and maintaining the texture, which is why I won’t recommend you to use such products.
You can make your own natural DIY moisturizer instead and still achieve a hydrated, supple skin without possible break-outs or a burning sensation.
Otherwise, you may simply use a natural organic face and body cream moisturizer for an all-around skin hydration. It’s economical since you can also use it for your arms and legs.
{GET YOUR ORGANIC FACE AND BODY CREAM MOISTURIZER HERE}
{READ THIS: FREE 5 Minute Homemade Dry Skin Moisturizer Recipe Card}
DIY Natural Skincare Recipes
Here are some more natural skincare recipes for you to try.
Summary
Here are the 10 steps of the Korean Skin Care Routine again to remind you of what you learned today:
- Water-Based Cleansing
- Oil Cleansing
- Foam Cleansing
- Exfoliation
- Toning
- Intensive Hydration
- Serum Application
- Mask Application
- Eye Cream Application
- Moisturization
Conclusion
Achieving a radiant, healthy skin is possible by following the 10-step Korean skincare routine.
While it may involve a long list of steps, each product you use along the way has its own beneficial effects on your skin.
This skincare regimen ensures that you avoid possible skin problems before they manifest.
Consequently, it improves your current skin condition with some targeted treatments that don’t contain harsh chemicals.
I hope that this guide to the Korean skincare routine will inspire you to invest in your skin more for a youthful-looking face you’ll want to keep for a long time.
Free Essential Oils 14 Day E-Course
If you'd like to know more about how to use essential oils, I love this FREE e-course that walks you through the process step by step.
Click here to get your FREE 14 Day Essential Oils E-Course.
More Related Posts You Will Love
- Purifying Lime And Sugar Scrub For Acne
- 10 Step Korean Skin Care Routine - The Natural Way
- Homemade Sugar Scrub Cubes Recipe: No Mess Or Contamination
- Home Spa Ultimate Guide (Ideas, Recipes, Benefits, Treatments)
Click here to pin this for later.
Sources










Leave a Reply